Let’s dive right into this by placing your markers in the correct locations. Markers should be on the correct spot. We’ll need those for later. C is south, A will be north, B is east, and D is West. Always tank the boss in the center facing north, and always remember that D is dark and B is bright.
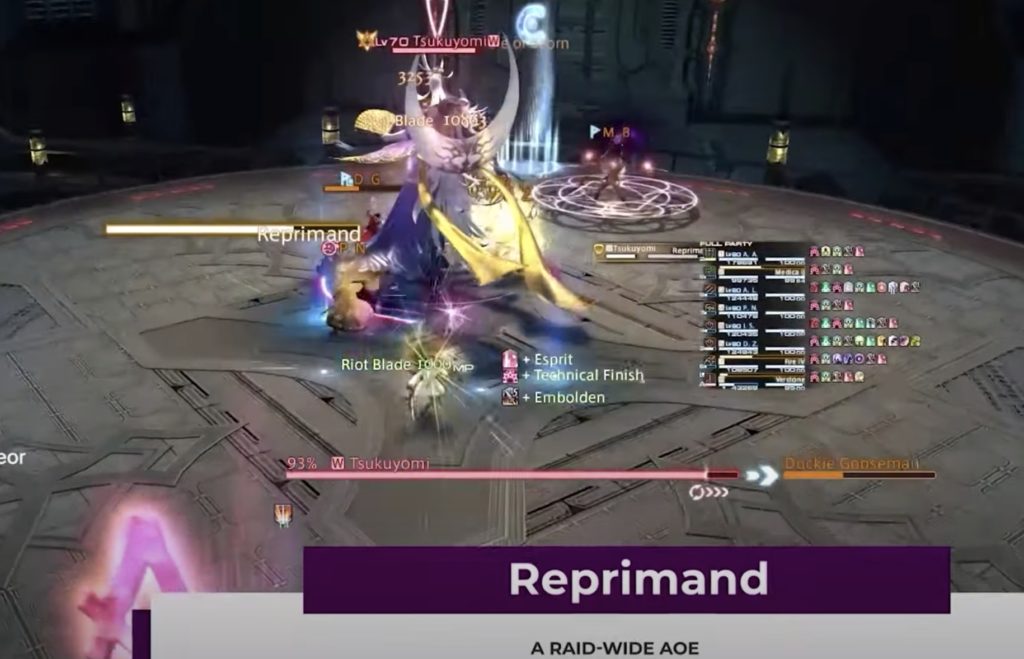
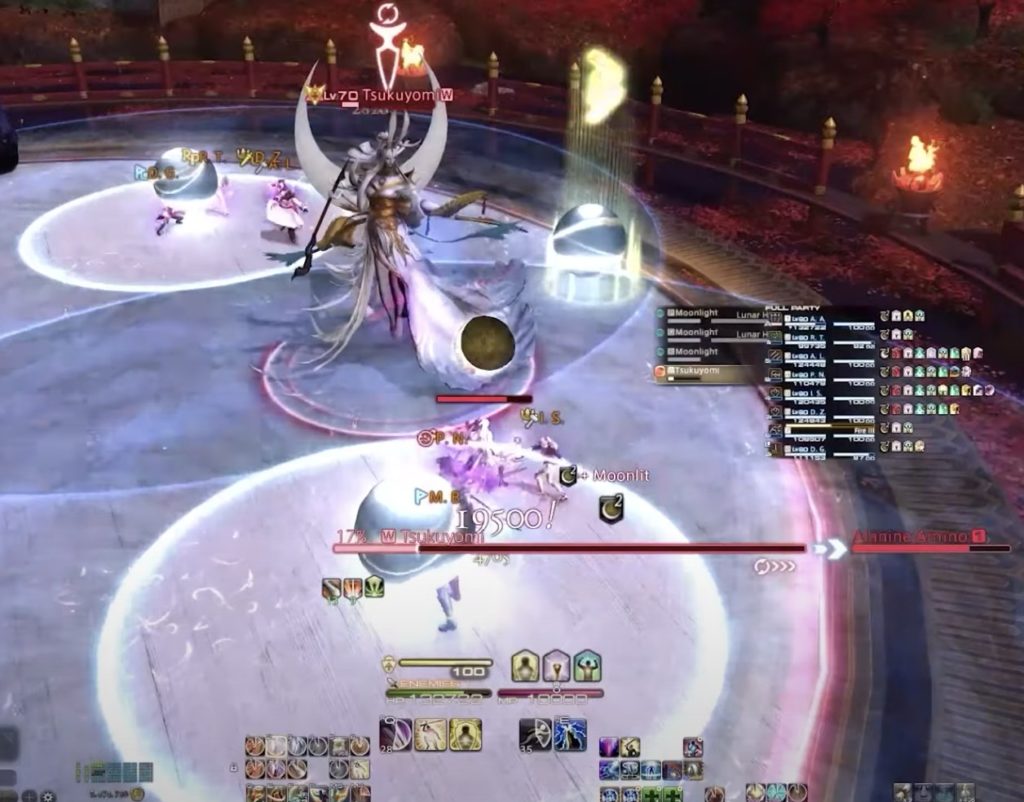
Reprimand – Raid-wide AOE
Nightfall
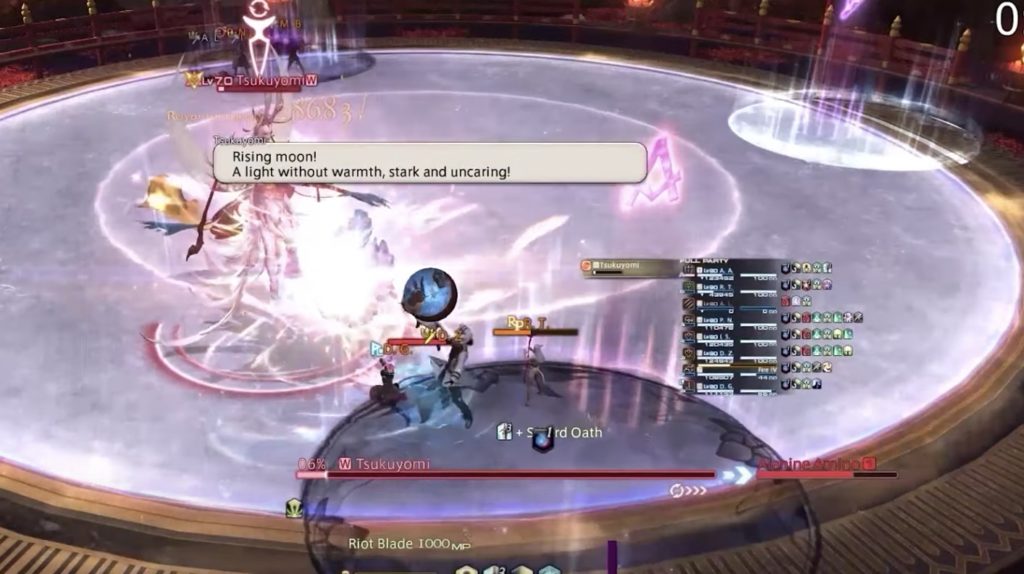
The first thing she’s going to do is Night Fall = gun or lance.
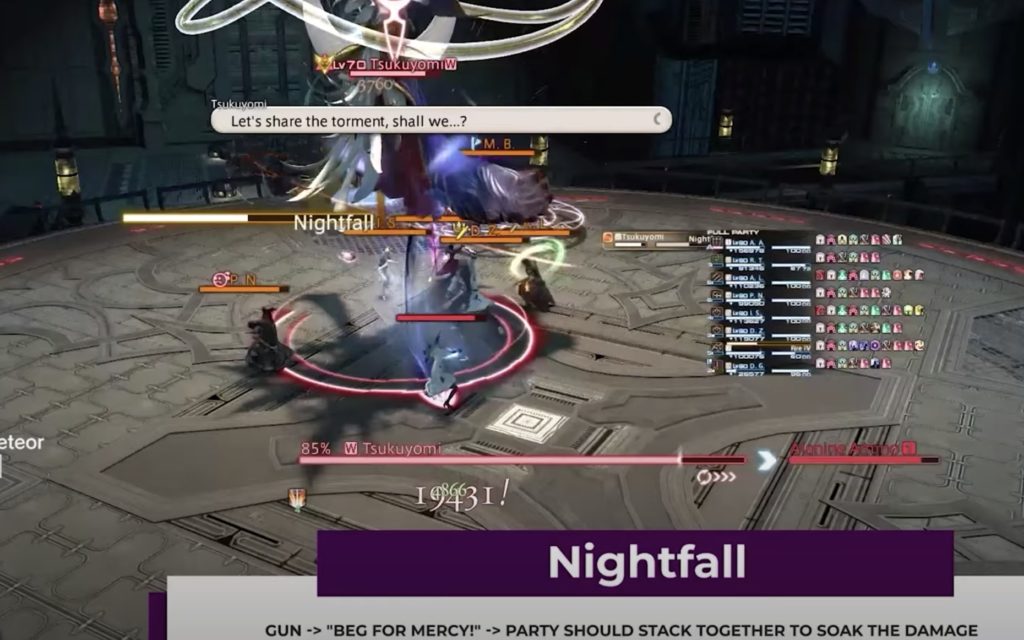
Now for the gun, stack behind her and soak in the hit. For lance, the tanks are going to stack together in the north, and the healers are going to stack together in the east or west, or you could cheese it and cross your fingers hope no one dies.
Time to Kill Ads – Nightbloom
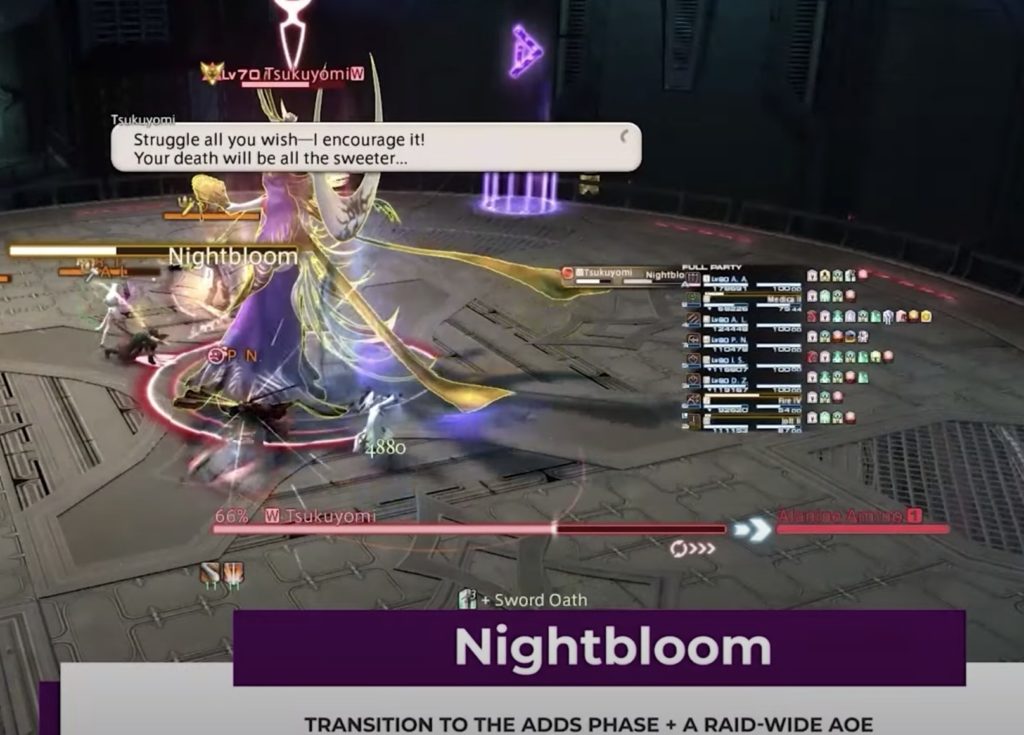
It’s time to go into the ads phase. You don’t want the suffering meter hitting 100. DPS burned the ads down tethered to moon bunny first, and tanks and healers can deal with the ones on the outside. Since we are skipping a lot of phases because we are unsynched, some mechanics do matter.
Supreme Selenomancy
Important:
- The debuff(dance between the 2 floor colors) 5 stacks = death
- Each party memeber will be randomly assigned a debuff, either moonlit or moonshadowed
- standing on the white side of the floors moon will inflick a stack of moonlit every 5 seconds and vice-versa
- reaching 5 stacks of either buff will inflick the player with doom and kill them instantly
- Placing your meteors
- Knowing which way to go during the moon phase
This is why we put D on the left, west side, and B on the right, east side.
Nightfall + Meteor
Once all the ads are finished and destroyed, we get into the fun stuff. Shields up heals up, and get ready for debuff time. Watch your debuff next to your name. It will pop up above your head or in your status bar. At the same time you get your debuff, the ground will change into a yin-yang black or white. Once you see the flashes, run to the location opposite your debuff.

There are little moons that are either going to be black or white; they also stack. You never want the stack to go over four. You want to move between the black and the white during this Phase, keeping that number low.
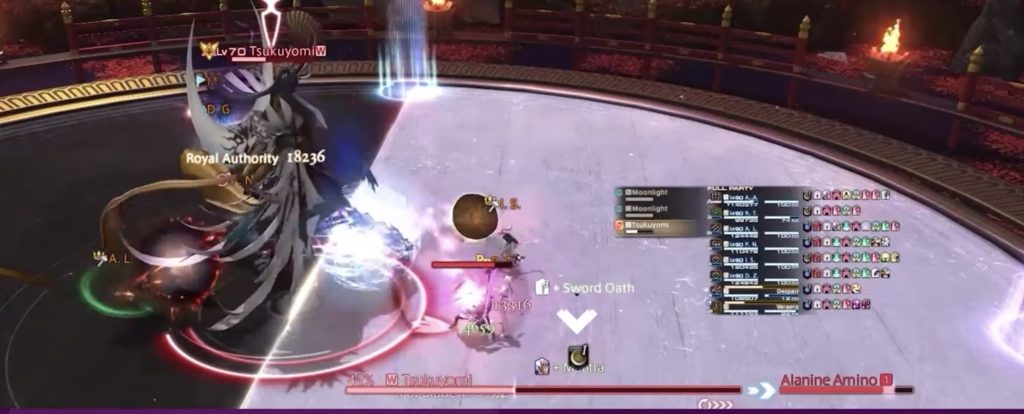
Meteor Time
It’s meteor time; you’re going to deal with gun or lance and then run your meteor into your correct place. Tanks always have a DPS at C and healers at B.
Stack up together and took the gun hit while watching your debuff numbers and move to the correct locations.
You must place your marker on the corner on the smaller color. Tanks and DPS healers are off to the B side towards the middle, and you should all run back to the safe spot.
After that, deal with some AOE. If the meteors blow up and are done right, they will be the color you need them to be for your debuffs sake, which in this case is going to be white.
Heal up for some raid-wide damage and get ready for black and white moons.
What to Remember
Always remember that bright is B, dark is D, if it’s a white moon, it’s out, and if it’s a black moon, you want to be in the hitbox. If her move is bright, you move to B, and if the moon is white, move out. Next, she’s going to do dark, so move to D, and her moon is black, so stay in. Skip all other phases, and you win! This could swap around back and forth.