While being the very first raid of the Crystal Tower series, the Labyrinth of the Ancients is underestimated by many players. However, there are some things you need to worry about unless you want your party to be wiped in a fraction of a second. Here is a detailed guide to passing each boss in the Labyrinth of the Ancients.
Bone Dragon
In spite of its frightening name, this boss promises to be easy prey for your alliance. Accurate and regulated attacks will help you slay the monster fairly fast, letting him cause you little to no damage.

However, the main source of damage is the skeletons that spawn at the edge of the arena and head towards the boss’s dead body. Once they touch it, they explode, causing harm to your team. That’s why it’s good for you to kill them before they reach the boss. Otherwise, if damage occurs, cast healing spells to mitigate it.
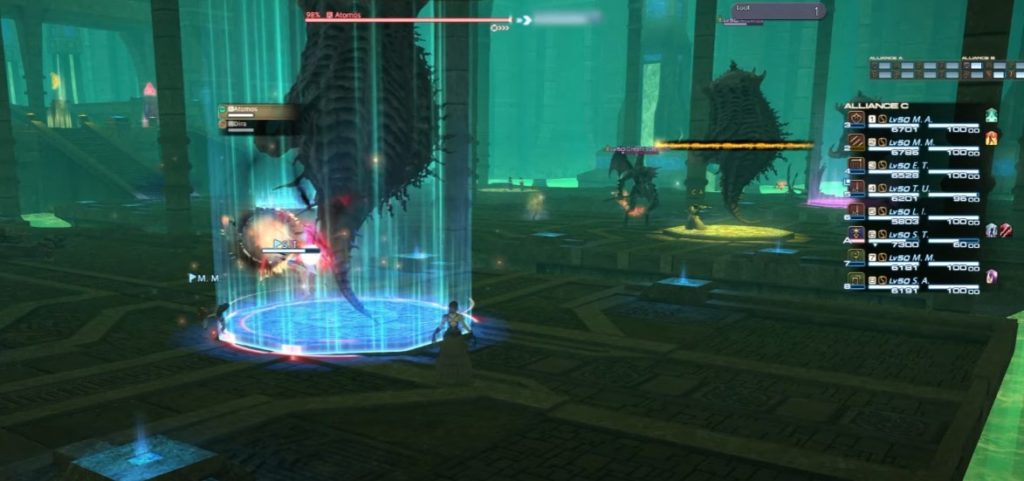
Atamos
Once you reach the next boss, keep in mind that any wrong move and disobedience to the rules will make the Atamos explode. So, what you have to do to prevent this monster from blowing the arena up is to strictly keep four members of your party inside the platform. Remember they must stay still on the platform.
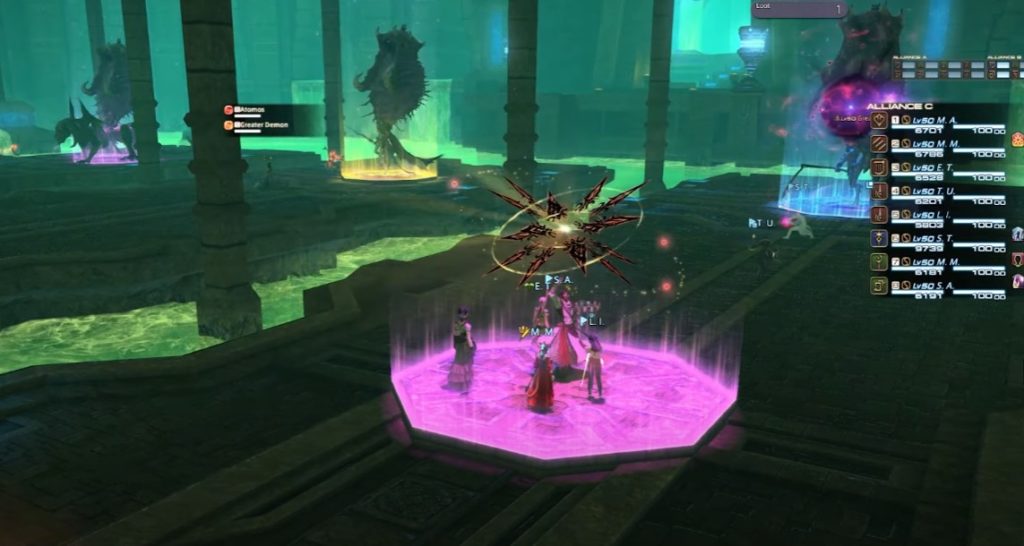
They should not move, turn to the side or cast spells. Typically, it will take two healers and two damage dealers, while three DDs and the tanker will perform on the battlefield. The tanker will deal with the ads, while the DDs will concentrate their wrath on the boss.
Thanatos
Moving on to the next boss, Thanatos – a giant tank without spectacular skills that you can make bite the dust without much effort.
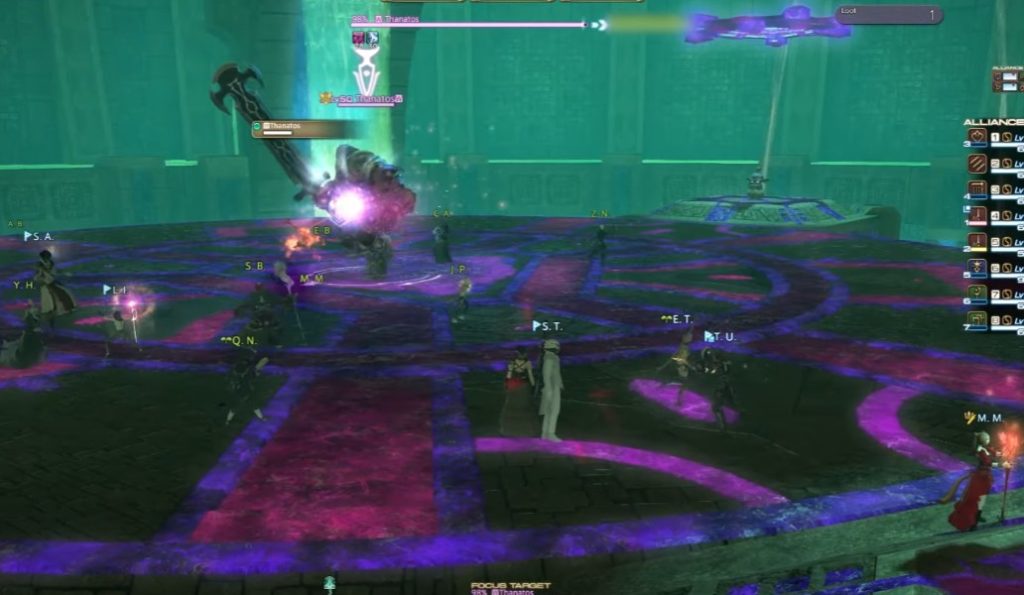
One thing to keep in mind about fighting this boss is that the members of your party receiving the invisible buff are the only ones who can deal damage to him. The other ones must focus on smashing the ads.
Allagan Bomb
This boss isn’t as dangerous as the ads it releases are. So, your main concern is to take down the ads that come in the form of explosive balloons that tend to blow up if not killed on time.
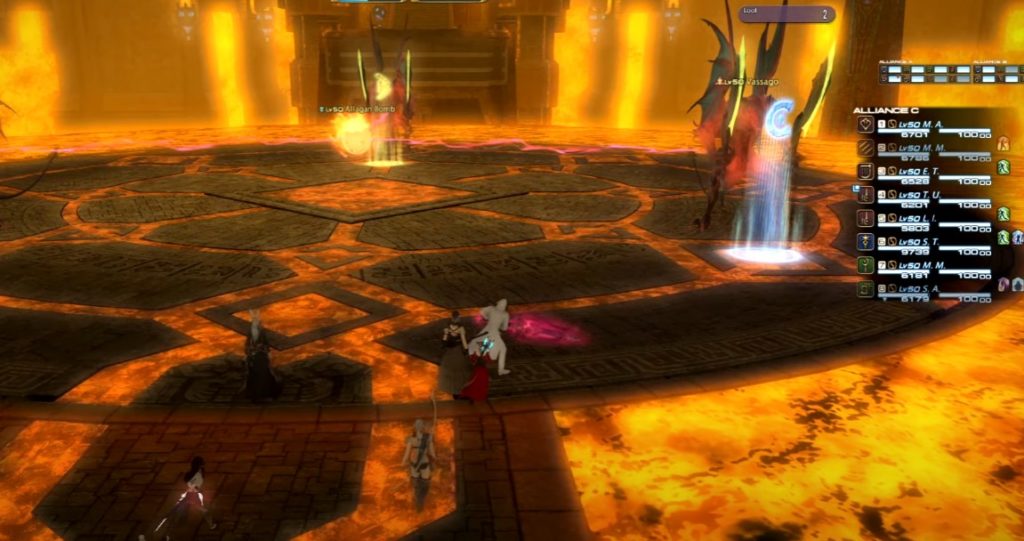
Every time a balloon explodes, the center Allagan Bomb becomes more unstable and the risk of a disaster goes up. You can cause damage to the boss after killing three ads.
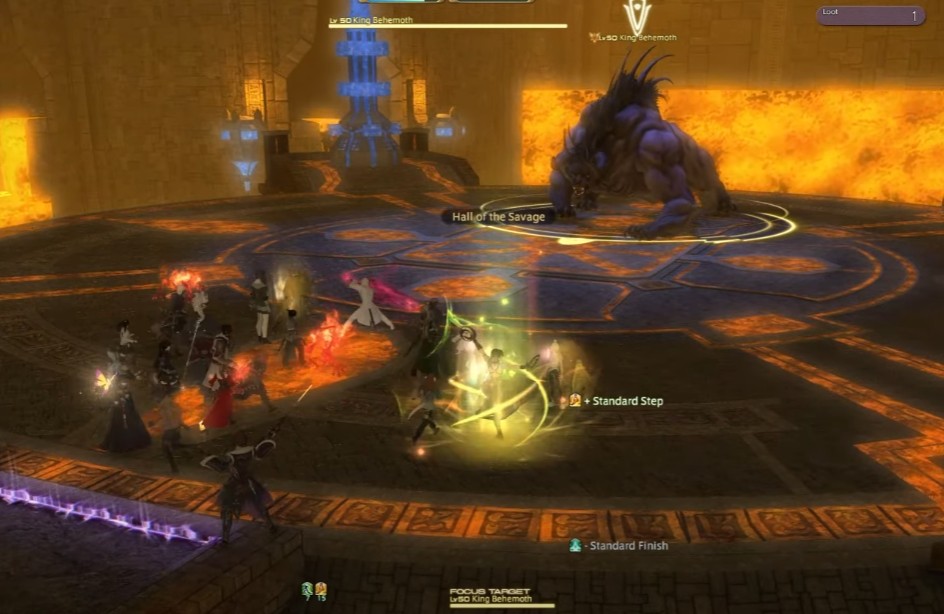
King Behemoth
There are some things to watch out for when fighting against the giant Behemoth. The good news, this boss is not so hard to kill, but you need an elegant approach to it to make sure it doesn’t cause much damage to you.
Once you enter the arena, you will notice green arrows flickering above the heads of some of your team members. They mean that a boulder will soon be dropped on the person’s head, but luckily, it isn’t meant to deal any damage. Instead, it comes to protect the person from Behemoth’s attacks.
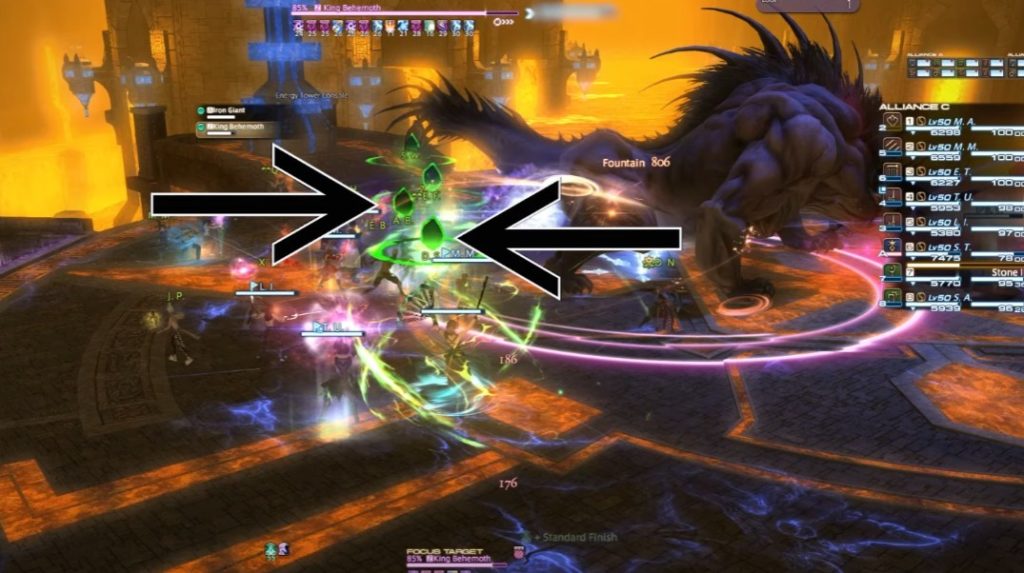
Make sure you drop the boulder outside the boss’s hitbox to guarantee your protection.

Avoid stacking boulders on each other, as it leads to their mutual destruction. If you don’t have a boulder that it’s with you throughout the battle, place one on the ground in between you and the boss when he casts eclipsing meteor.
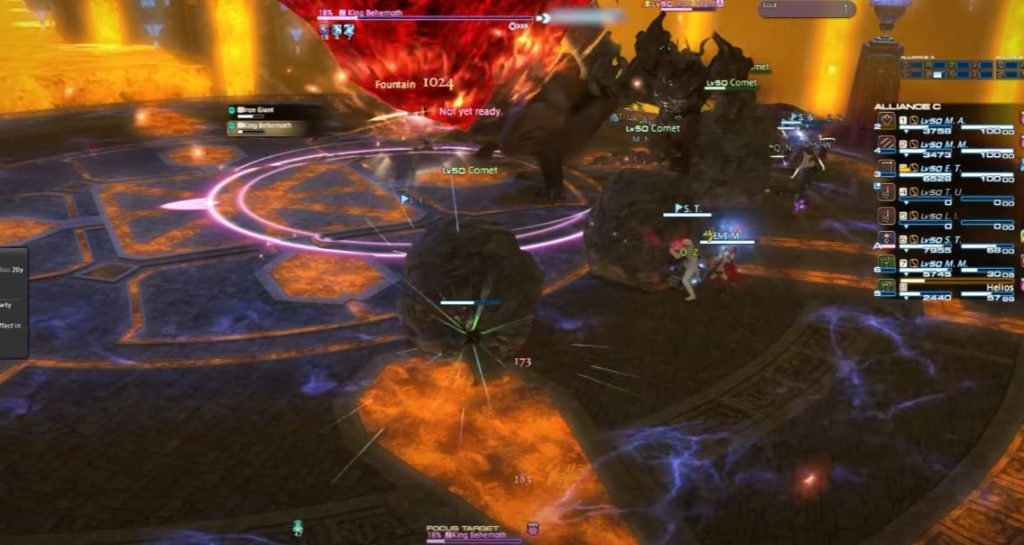
Dodge his attacks and retaliate with DPS to finally bring him down.
Phlegethon
Phlegethon is fairly easy to take down, but you have to be cautious and play intelligently. One thing to remember is not to stay on the damage pools labyrinths through which deadly glare travels.
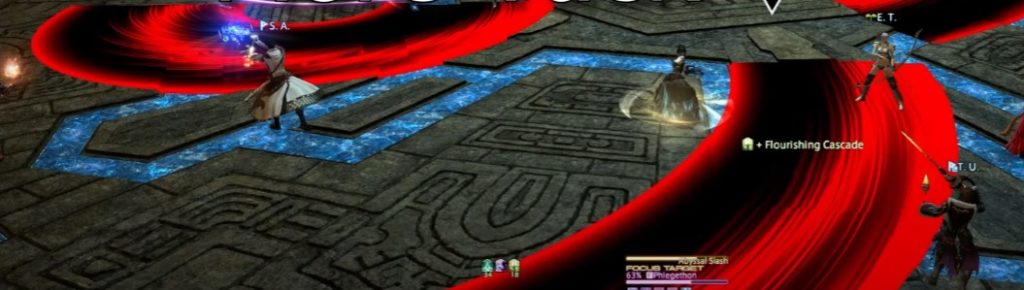

Once the boss reaches 50% of HP, he will start to cast an Ancient flare which can severely affect your combat potential once it hits you. That’s why, when you see the boss in the very center, look for shelter on your designated platform where the glare has no access.
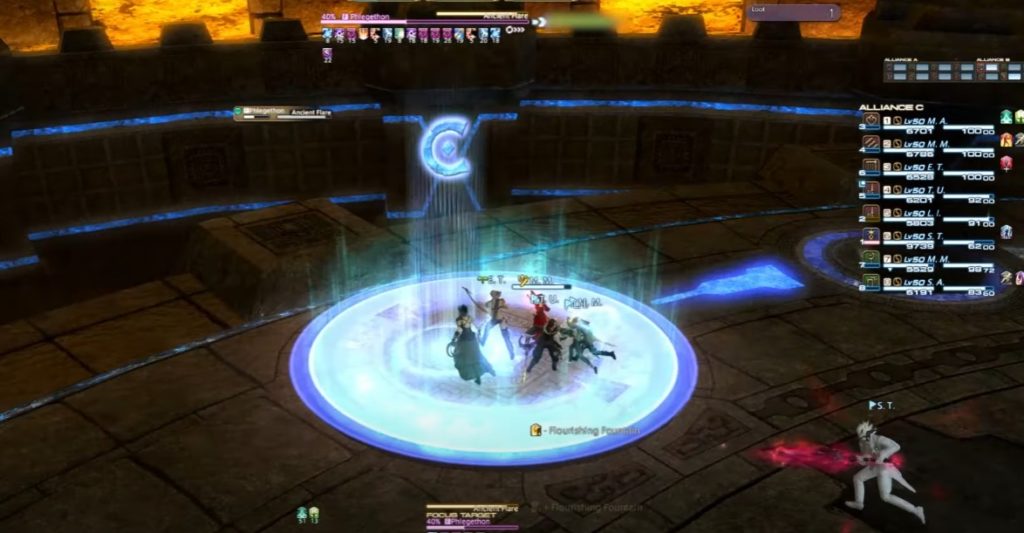

Once the attack is over, step off the platform and start firing at Phlegethon up until you wreak havoc of it. Even if the monster is wounded, he is still dangerous, so be wise to get on the platform during his last fit of wrath. Keep in mind, though, that when he is low of health, he will take his last chance of bringing damage to you by casting another dose of Ancient Glare. Once he is finally down, congratulations, you passed the Labyrinth of the Ancients.