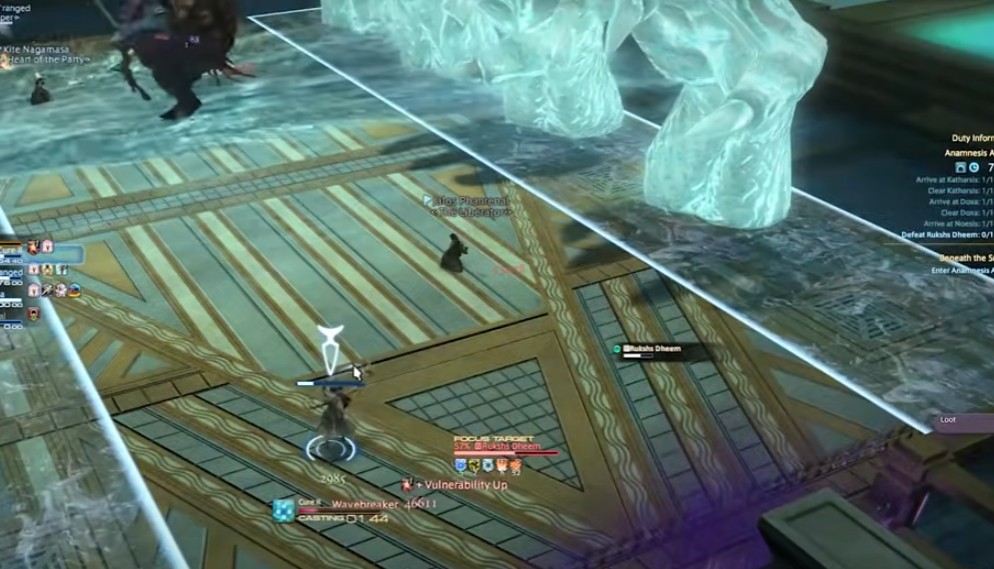
To unlock Anamnesis Anyder, you need to accept the “Beneath the Surfer” main scenario quest from Urianger in Lakelands. This is a level 80 dungeon in Final Fantasy 14 Shadowbringers introduced in patch 5.2. You will dive into the lost city of Amaurot to get information on the Ascians.
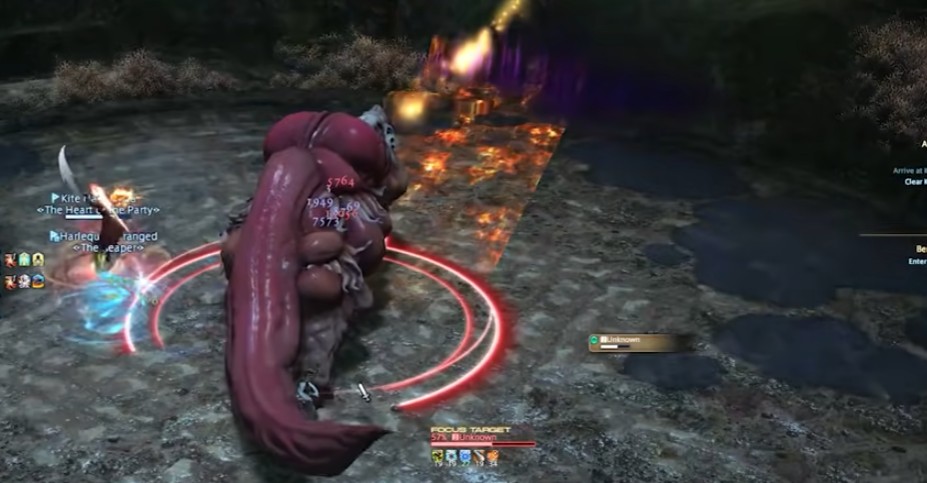
Unknown
Fetid fang – High tank buster to the primary target. Cooldown and heal as necessary
Scrutiny – Few orbs with Large AOE circles will appear on the platform. Players need to see the arrow in the middle to identify the explosion. Avoid damage by standing in between the orb safe zone.
Luminous ray – Large frontal AOE blast. Move behind the boss to avoid damage.
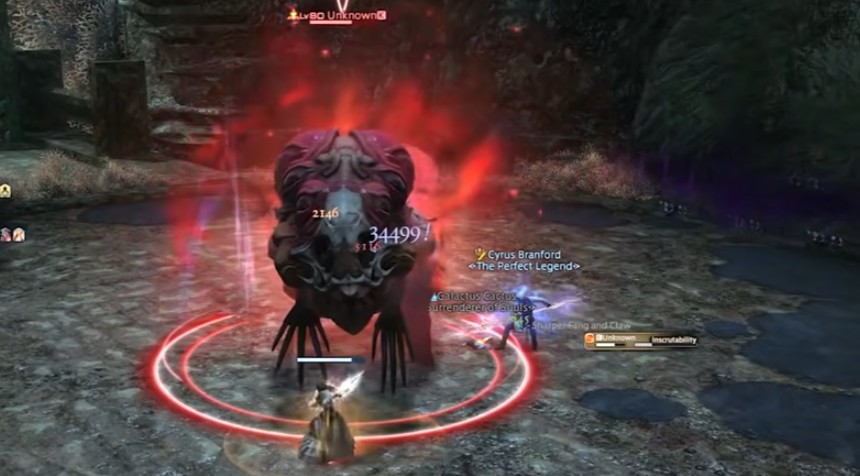
Inscrutability – This is high groupwide damage with bleed debuff applied on all players. Healers need to be ready to heal as necessary.
Clone – Similar to scrutiny, two bosses will deal with the damage instead of only one. Move around to a safe zone to avoid damage.
Clearout – this is a frontal cone attack. Do not stand in front of the boss. Focus on the boss and leave the clone only until after.
Plain weirdness – The clone will increase the damage buff on itself. Kill it ASAP before it gets too strong. All these mechanics will repeat with increased damage until the boss is down.
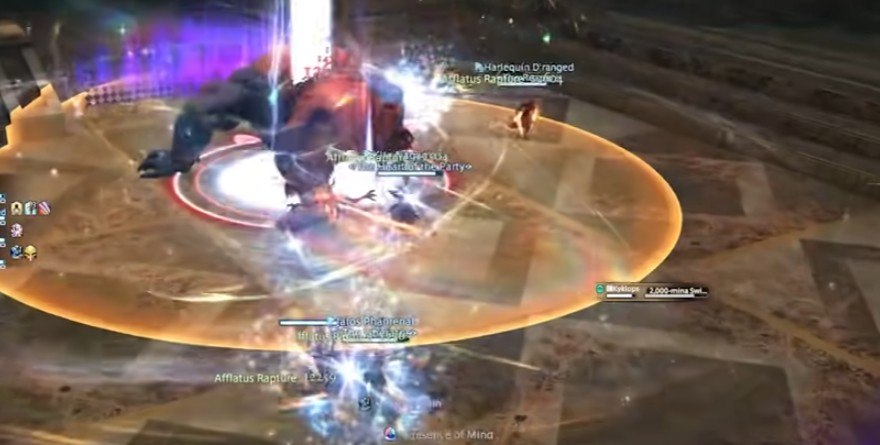
Kyklops
The final verse – A high group-wide damage to all the party members. Heal and shield as necessary.
2000-Mina swing – Large point-blank AOE swing that will give you knockback and high damage to anything in melee range. Position yourself properly to avoid damage.
2000-Mina swipe – This is a large frontal cone AOE attack. Move out from the front as soon the cast starts to avoid damage.
Terrible hammer/blade – The boss will jump to the middle and cast this mechanic. The boxes beside will spawn either red hammer or blue blade, indicating which order they will explode(the first explodes first). Position yourself on the second first, then after the first explodes quickly go to the first.
Raging glower – A long frontal column attack will be cast on a random player. Move out from the front of the boss to avoid damage.
Open hearth – Will put a stack-up marker on a random player. Group together to share the damage from the boss.
Wanderer’s pyre – Circle markers will be put on all the players. Spread from each other to avoid overlapping damage.
Eye of the cyclone – This is a room-wide donut attack. Move into the melee range to avoid damage. This mechanics will repeat until the boss is down.
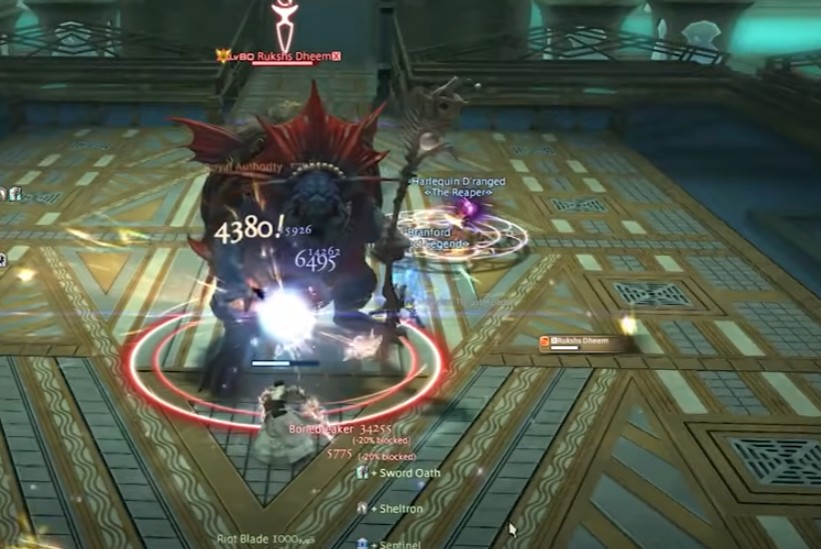
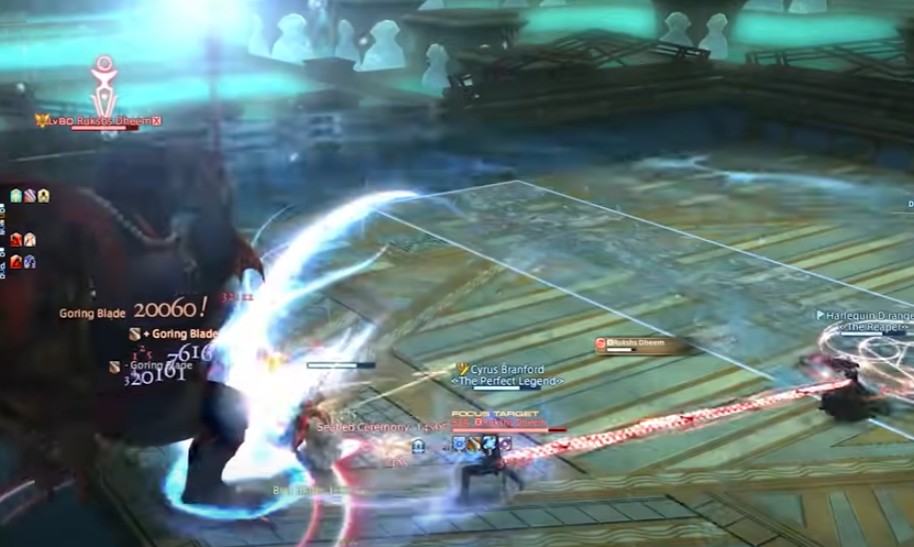
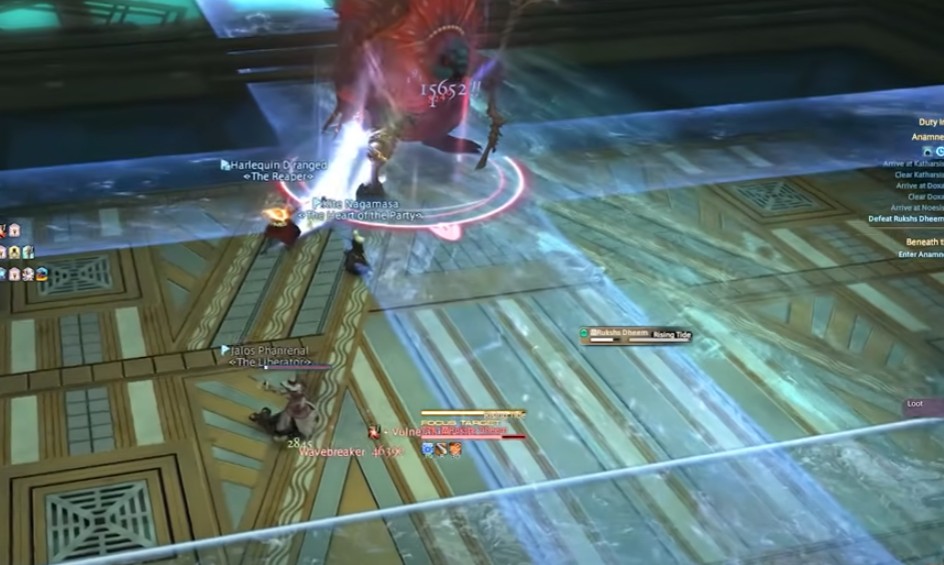
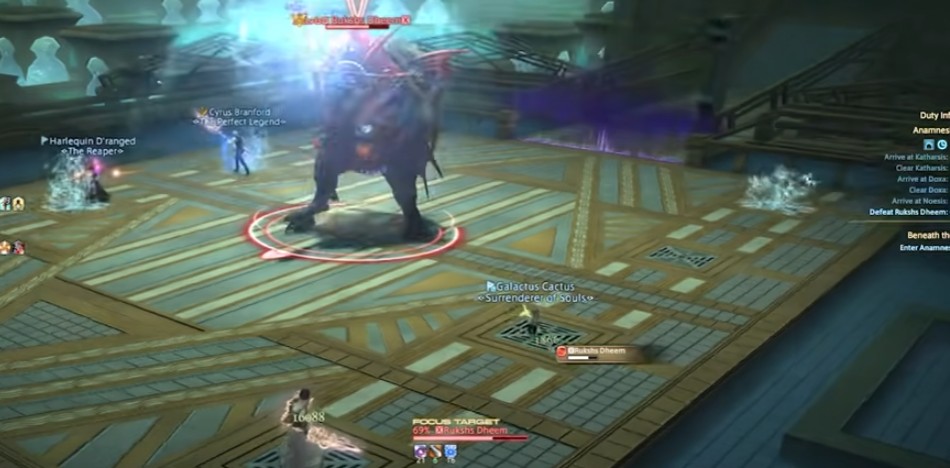
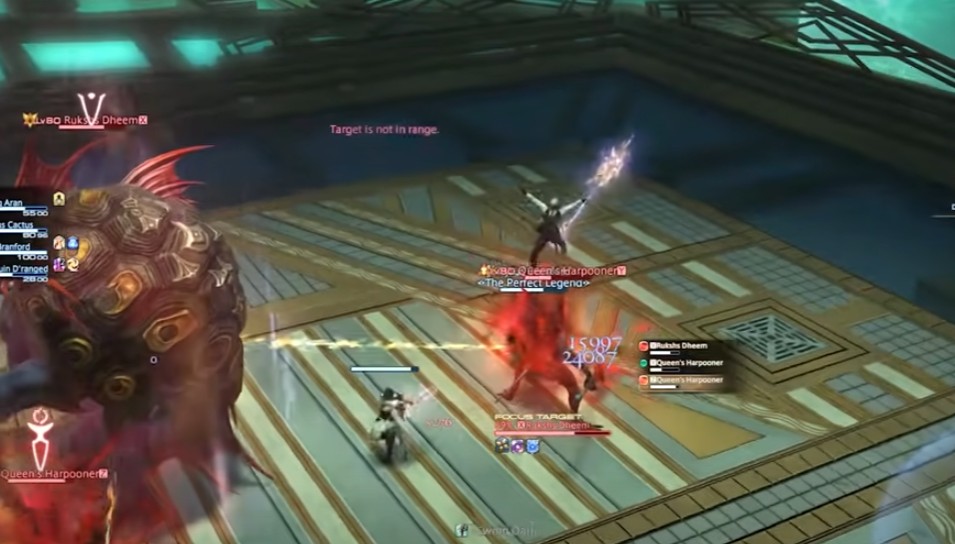
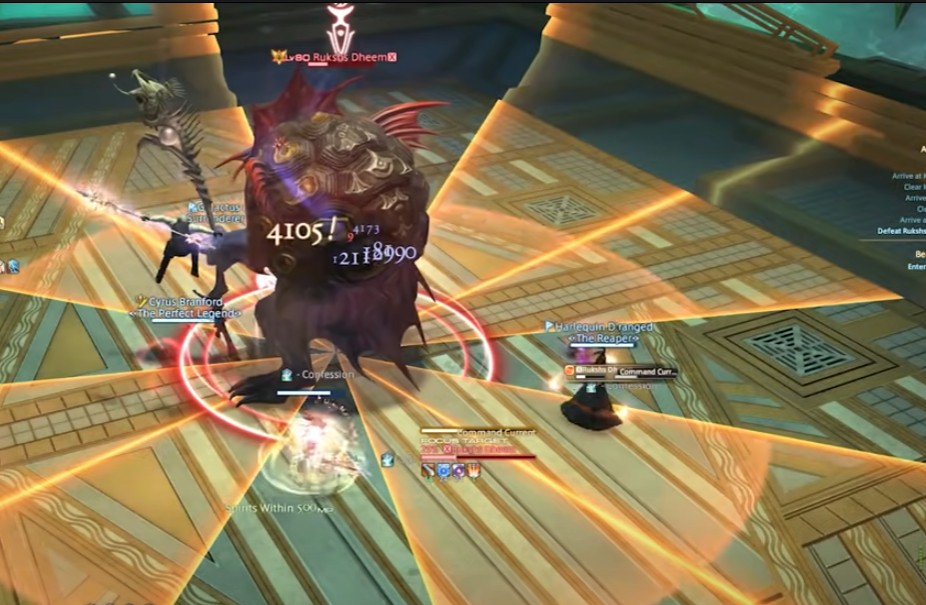
Rukshs Dheem
Bonebreaker – targets the primary target with a tank buster. Heal and shield as necessary.
Seabed ceremony – Group-wide damage that spawns water formation around the platform.
Depth grip – Watery hand forms within the water formations. Avoid getting slapped to reduce the damage. The hands you need to worry about are the ones facing you.
Rising tide – Cross-shaped AOE in the middle. Move away to avoid damage.
Bubbling grates. Grates around the platform will start to bubble indicating an add will spawn. Stand on the grate to reduce the number of adds spawns.
Meat shield – This adds will render the boss invulnerable with shields. Kill the adds as quickly as you can to attack back the boss.
Depth grip (variations) – Use gaps on either side to avoid the slap. Also, avoid the grates targeted by hand because the slapping hand will block the ads that are soon to be spawned.
Flying font – A stack-up marker will be marked on a random player. Group up together to spread the damage among the party members.
Command current – The boss will blast large cone AOE attack. Stay in the safe zone to avoid damage. All these mechanics will be repeated until the boss is down.