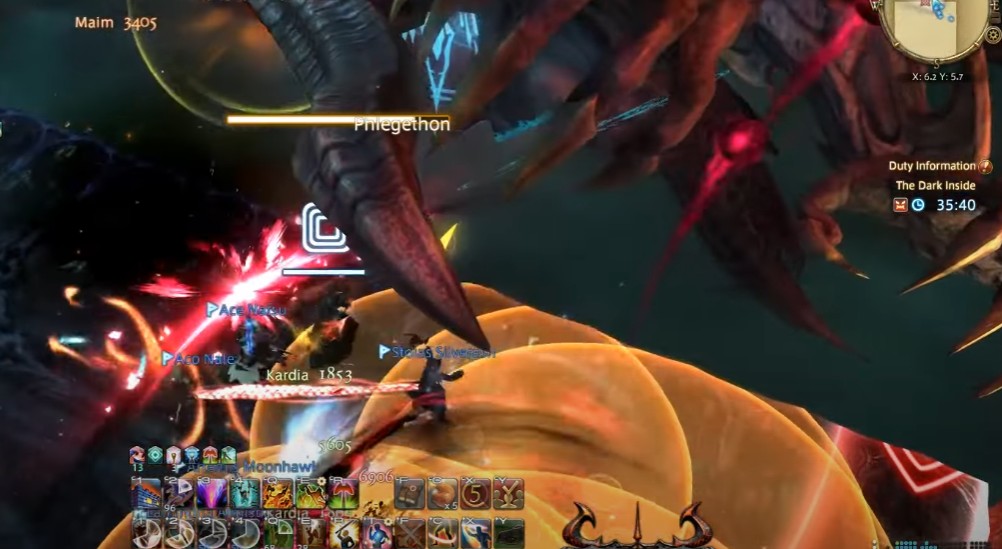
By now, all of us, and I mean every one of us, has an opportunity to go through first two dungeons. We’ve grown fond of our new skills and the gigantic mobs that obliterate our screens with their sheer size. So it was time to play through with the first few Main Scenario Quests and their massive trial bosses. The first is The Dark Inside.
This article will be the guide for the dark inside; prepare to defeat none other than Zodiark. This fight lasts about nine minutes and involves a lot of movement. Every mechanic has told you that you can look out for the arena’s side to predict where you’ll have to move to next.
Zodiark Boss Mechanics
Kokytos
The first stability cast is the Kokytos, which reduces everyone’s HP to one. Don’t waste your mitigation on this. Just have half of your healers heal everyone back up to full. To make your healers’ lives easier, stay close to them. It’s best if your entire party stands before the boss for most of the fight unless they’re dodging mechanics.
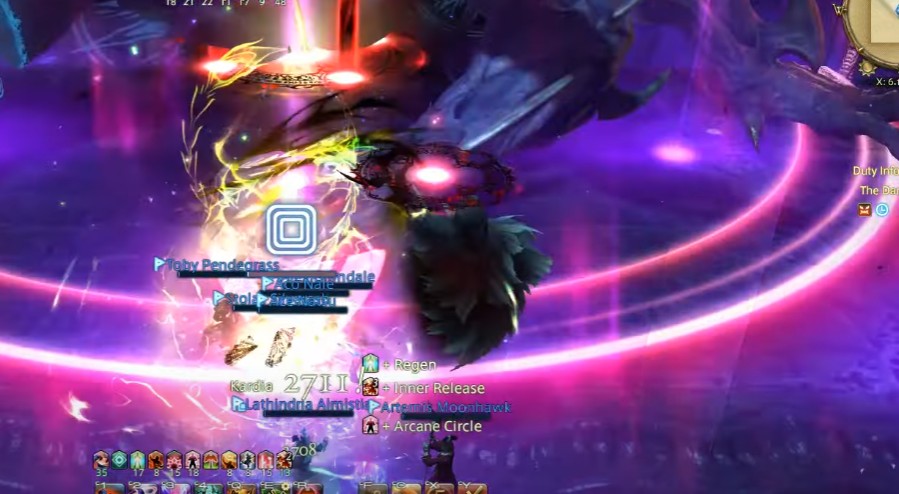
Exoterikos and Ania
The next ability is the Exoterikos, Zodiark casts a beam from the bars that will target one of the arena’s sides, either the right side behind you or the left side and with that side as the center point, there will be AOE. This can take two different forms.
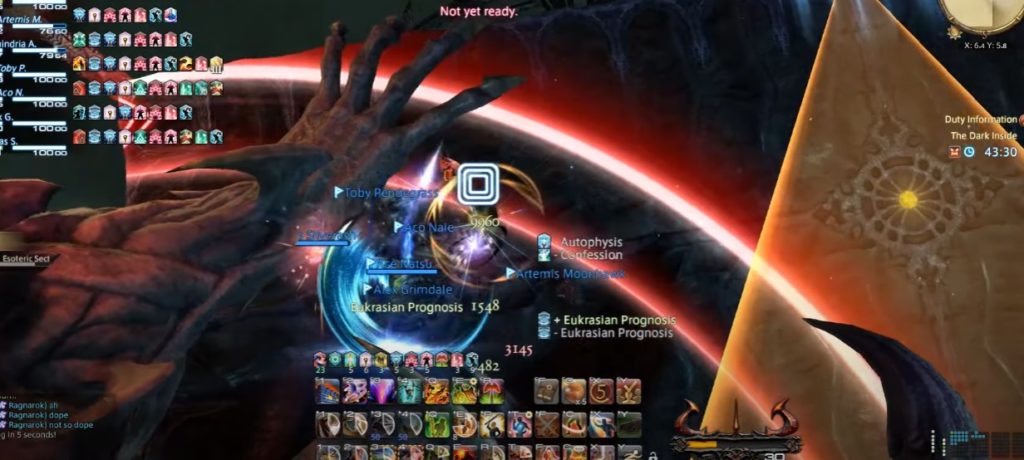
You can hide it right next to the boss’s symbol if it’s a triangle. If it’s a rectangle, you should run on the opposite side of the arena because care will cover half of the arena on the side of the symbol almost at the same time as Ania, a tank buster.
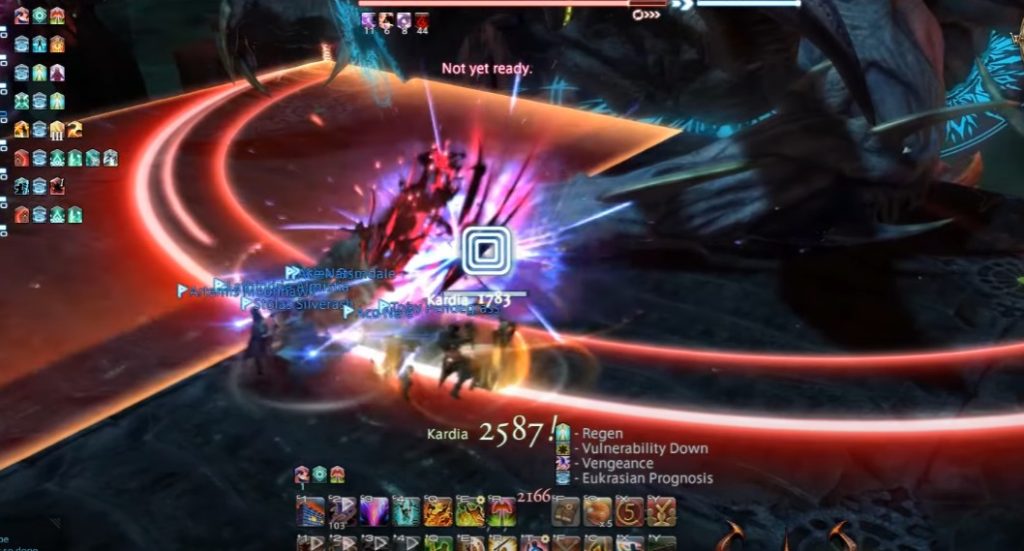
Mitigate and shield through it as needed.
Paradeigma
Paradeigma is the next cast. This attack comes in two forms.
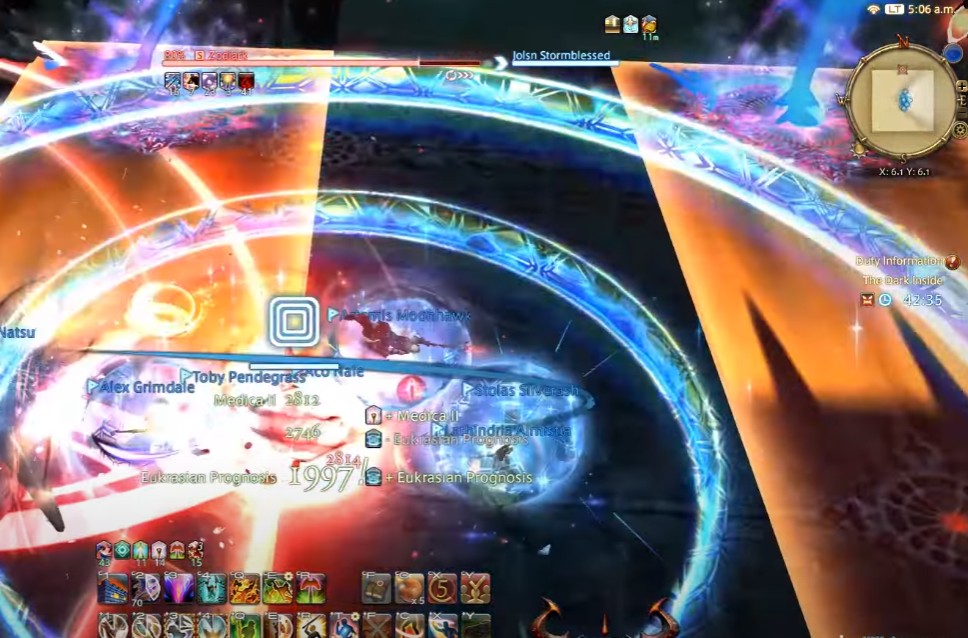
The first version consists of a swarm of snakes appearing on any arena’s sides. The second variant features two behemoths that spawn on opposite sides of the arena. To deal with this, Aries forms a small circle around everyone.
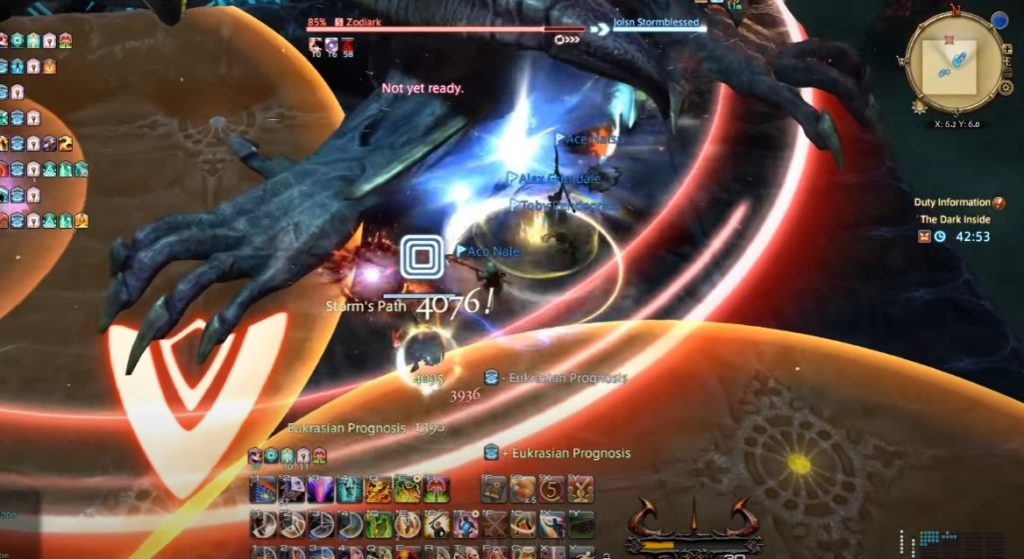
Phlegethon
A small circle of areas will spawn around everyone; you want to stack up and then spread out after that Zodiark cast sticks. Zodiark will essentially rotate the arena by 90 degrees.
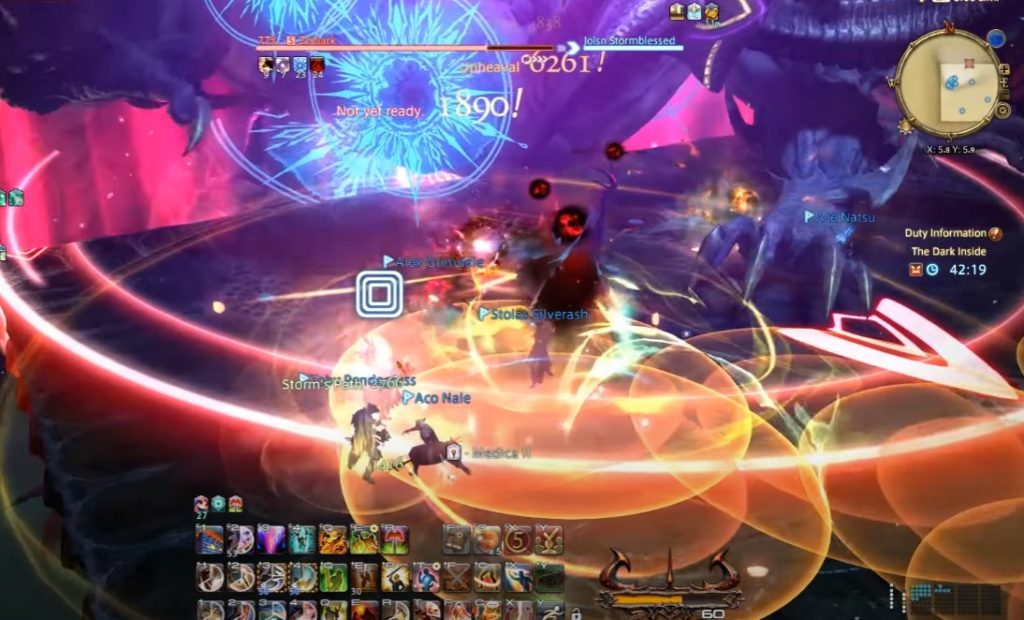
Styx
The damage from Styx is seriously high, you 100% need to group up for this in order to survive. Throw all out here to get as much damage mitigation as possible. If you also have personal mitigation be sure to use it as well.
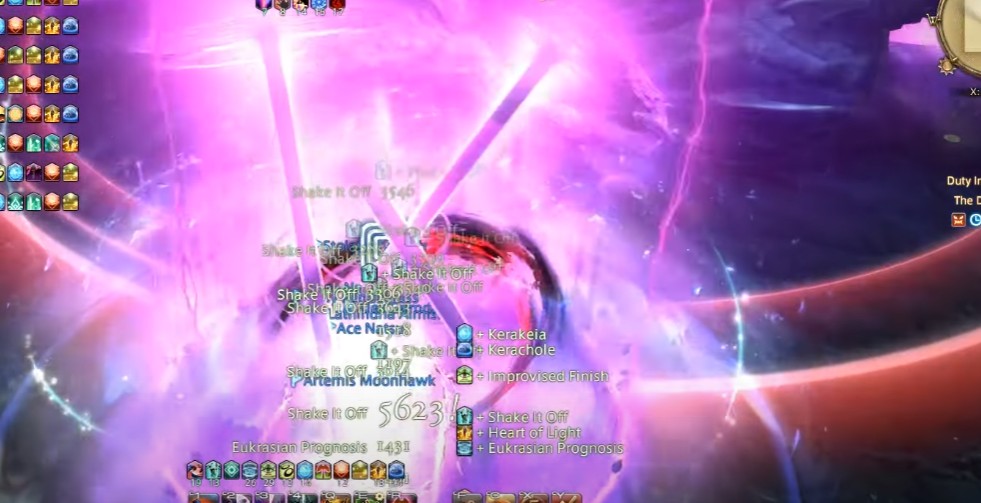
Complete Control
You are now in phase 2.
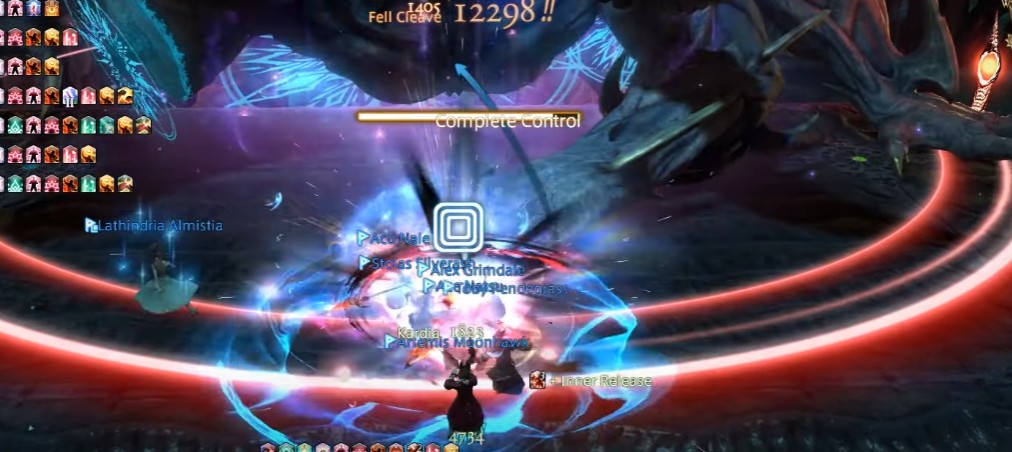
Astral Flow
Stand in a spot that isn’t going to be inside the Paradeigma AoE.
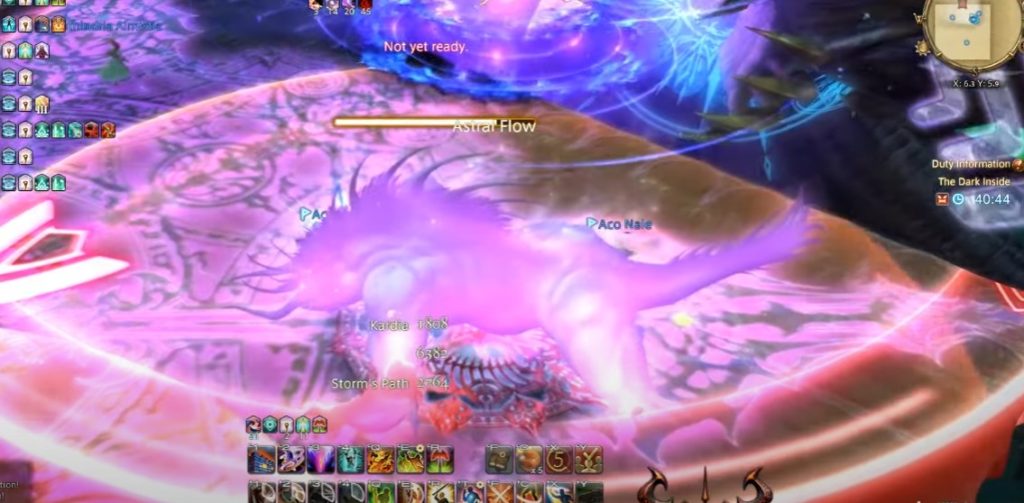
Adikia
Zodiark will smash his fists onto the ground. The safespot can be found right under him or on the opposite side of the arena.
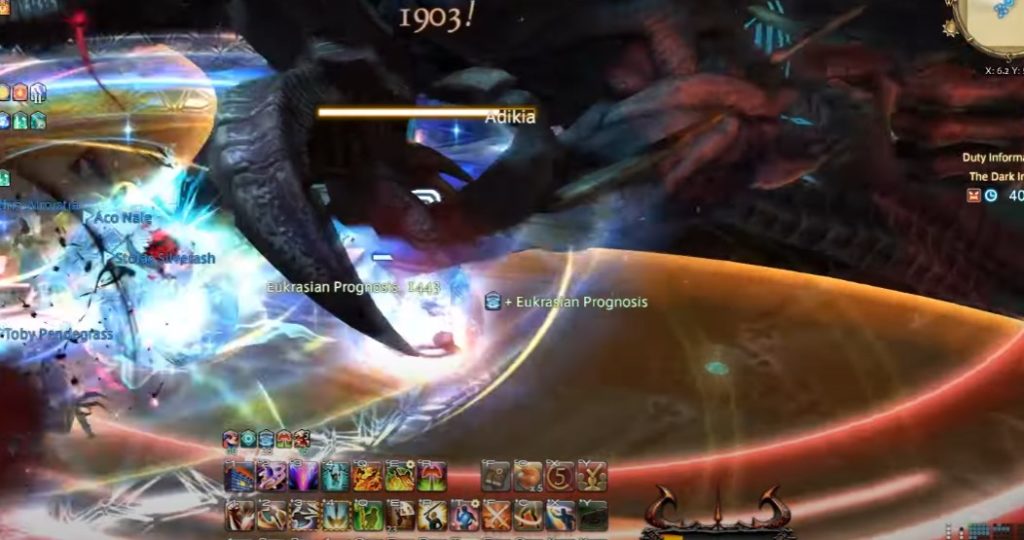
Triple Esoteric Ray
Zodiark spawns triple esoteric ray, once he shoots the first ray, go to that spot, right after where he shot is the new safespot.
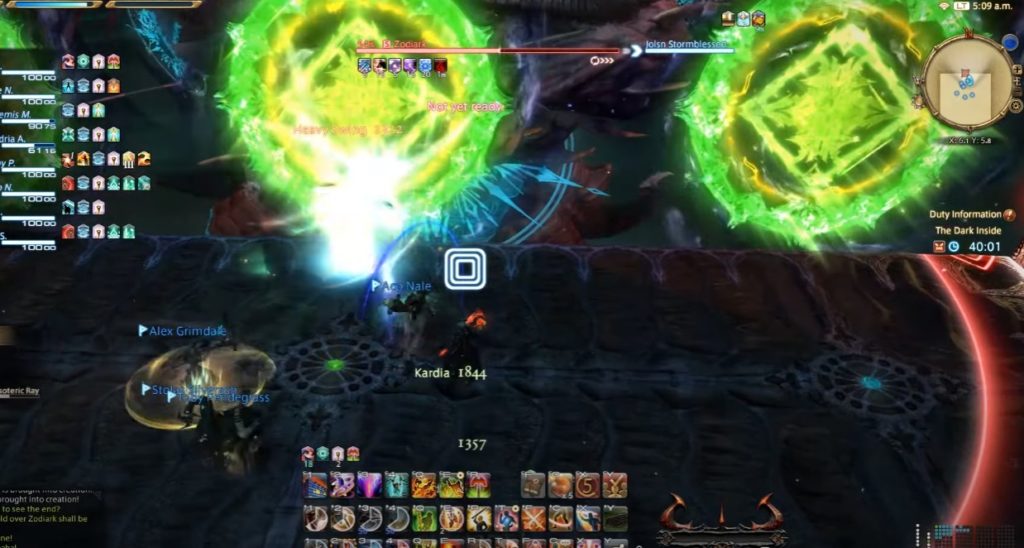
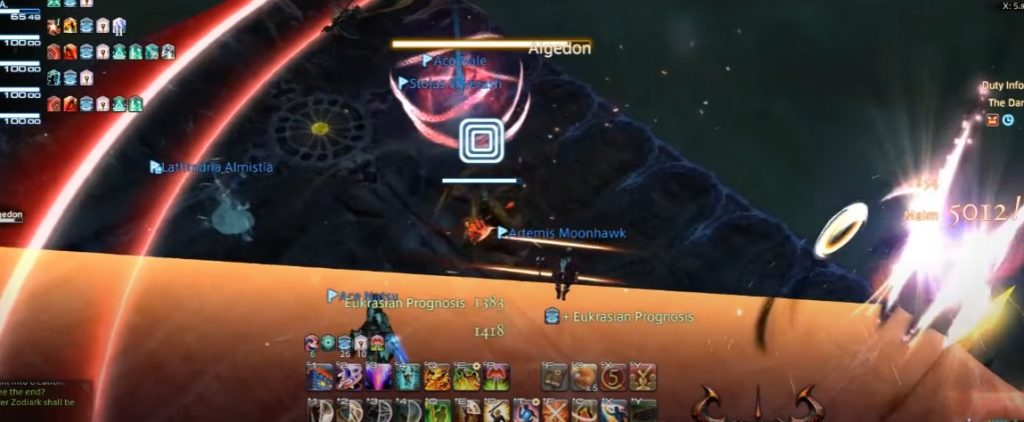
Algedon
Zodiark casts a big AoE and the safespot is horizontally on the opposite corner of his location.
Astral Eclipse
This takes some getting used to, and many new players get wiped out here. These stars correspond to where the AoE will go off on the Arena.
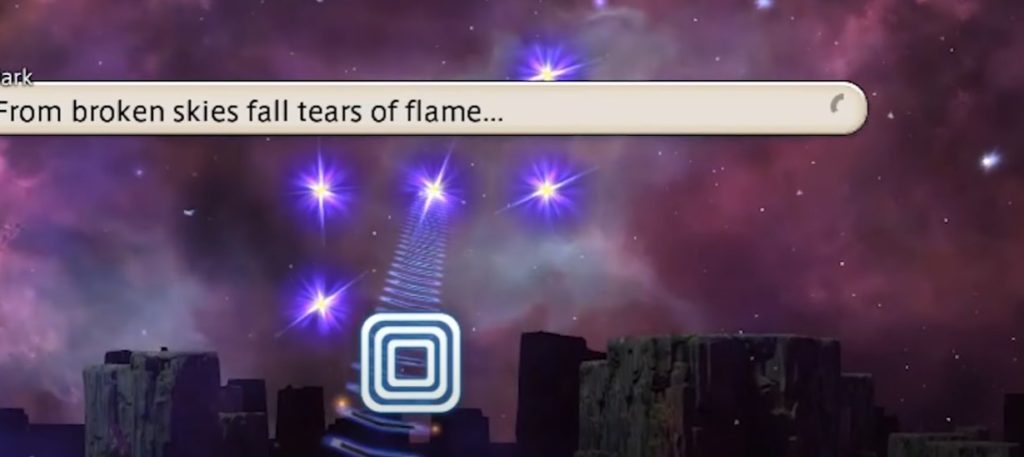
You’ll have to dodge these in succession and these always start on the left side to where Zodiark was just a moment before. You have a small opportunity of time, so try to remember and just run that path.
Trimorphos Exoterikos
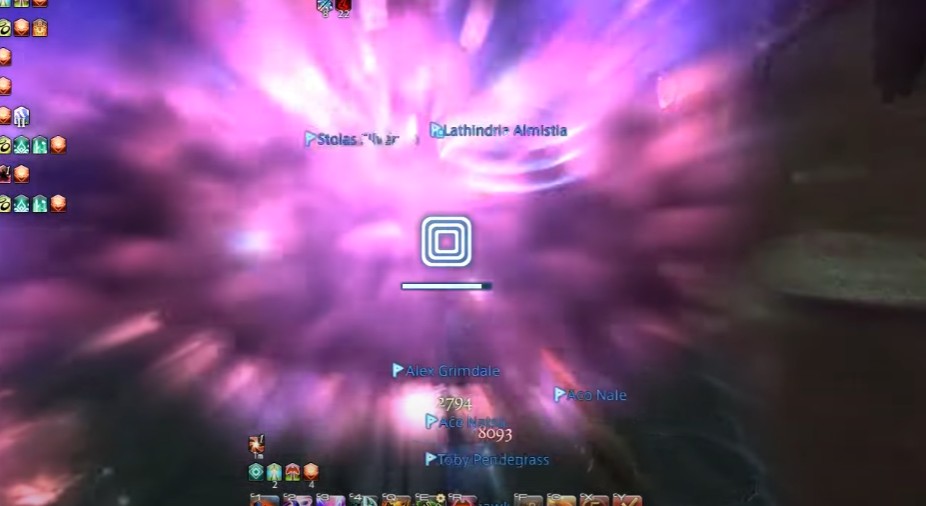
This is similar to the start, except for now Zodiark casts these on all three sides instead, in rapid succession. Zodiark
